If you’ve created your classes in PeerGrade, then you’re ready to create assignments. Assignments are easy to create, but there are a few different options you have as you go. This is another simple 3-step process.
Create the Assignment
After selecting the class you want to assign peer feedback to, you’ll click the blue “Create assignment” button. You’ll give the assignment a title. You have the option of giving a more detail description, or even instructions in the Description box. Additionally, you can upload any documents that would be helpful for students.


Select or Create a Rubric
In the rubric section, you have a lot options. First of all, every assignment comes default with two text-based feedback questions: Mention something your classmate did well, and mention something your classmate could improve on. Students would be required to type in their answers.
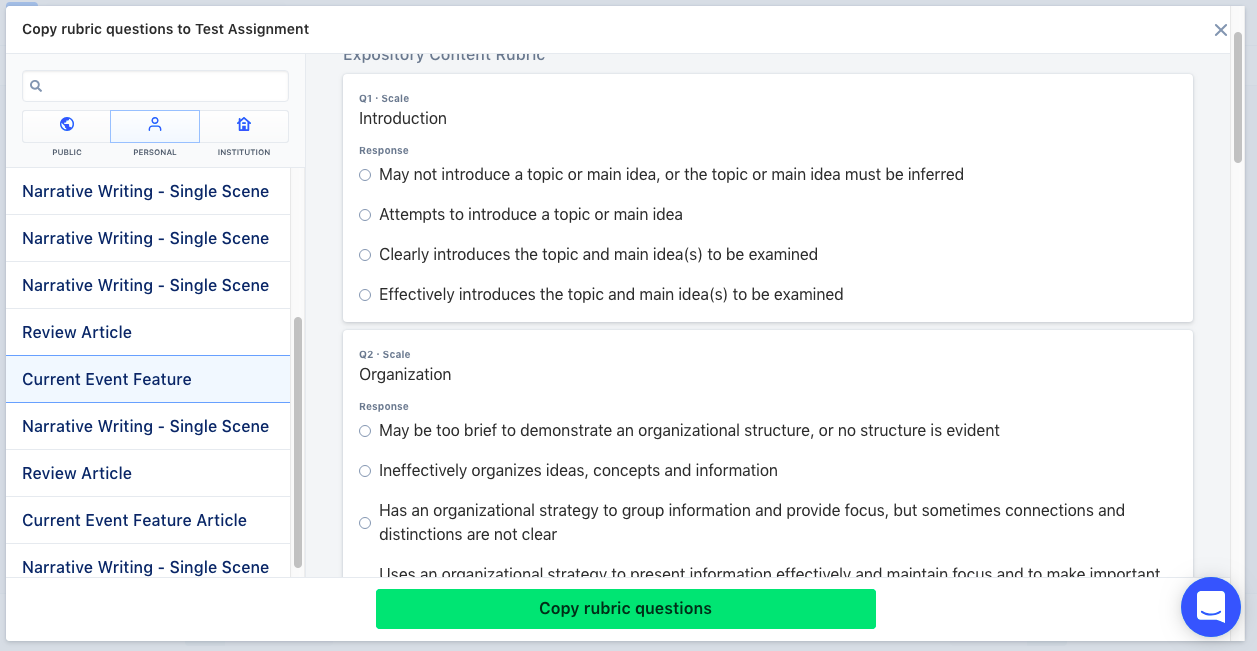
Before we look at the types of feedback that can be used, I’ll talk briefly about the rubric library. If you click on the blue “Rubric library” button, you’ll see a screen that allows you to copy rubric questions from other rubrics. There are three places you can look: public, personal, or institution. You can search for key words to find rubrics that have already been created. Public will pull rubrics from anyone on PeerGrade who has marked their rubric as Public. Personal looks at any rubrics you have already created. Institute, if you have the plan, shows rubrics from other teachers at your school.

Now, on to the rubric questions. You can create different sections on the rubric page to organize the rubric if you wish. Click the blue “Add feedback question” button. You’ll see a text box for you to add the question or criteria, such as “Does your classmate effectively introduce the topic?” Then, you have three options for the feedback type: text, scale, or yes/no.
Text-based answer require students to type their answers. You can set a minimum word count to ensure that students give more than one-word answers. You can also click to the checkbox to make the question optional.
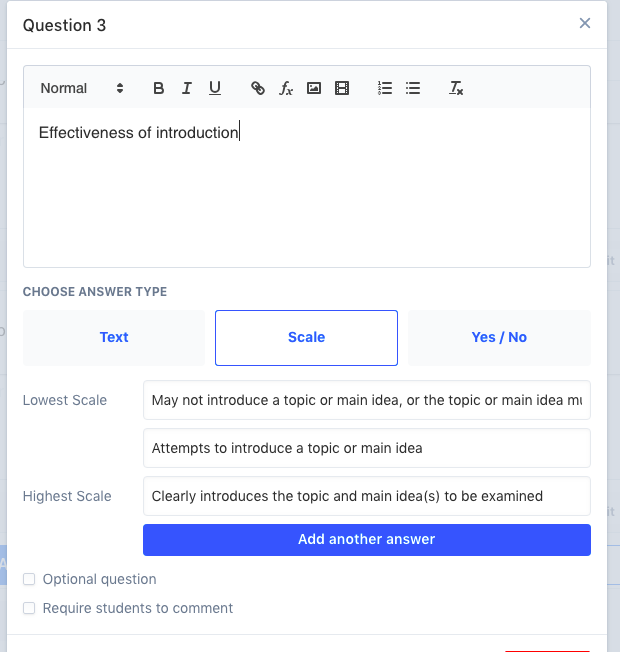
Next, you have the scale option. For this, you will have the question and then give students options to click. This is a good option if you’re using a rubric to score student assignments. You can simple add the descriptors for each category in the scale, and students can click on the most accurate choice. There’s a checkbox to make the questions optional. There is also a checkbox to require student’s to comment, maybe to explain why they chose the descriptor they did.
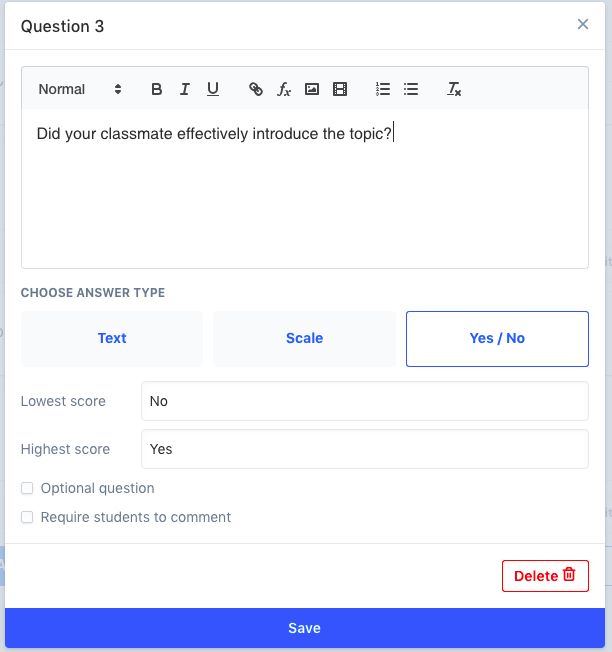
And then there’s the yes/no option. Simply pose a yes or no question for them to answer. Again, you have two checkboxes to make the question optional and to require students to comment.
Finally, there is an “Add explanation” button if you feel like you need to explain elements of the rubric in further detail. Once you get all your rubric questions done, you’re ready to move on to the last step.
Choose which type of session
You have two options for which type of session you want: live or homework. Live make the assignment live immediately after creating. Students can submit, review, and react as soon as you publish the assignment. There are not due dates or anything.
The second option is homework. Homework sets periods for the different parts of the assignments. You’ll have a submission period and a review period. By default, the submission period will begin when you create the assignment. You can set a date for submission to open. You’ll also need to set a date for submissions to be due.
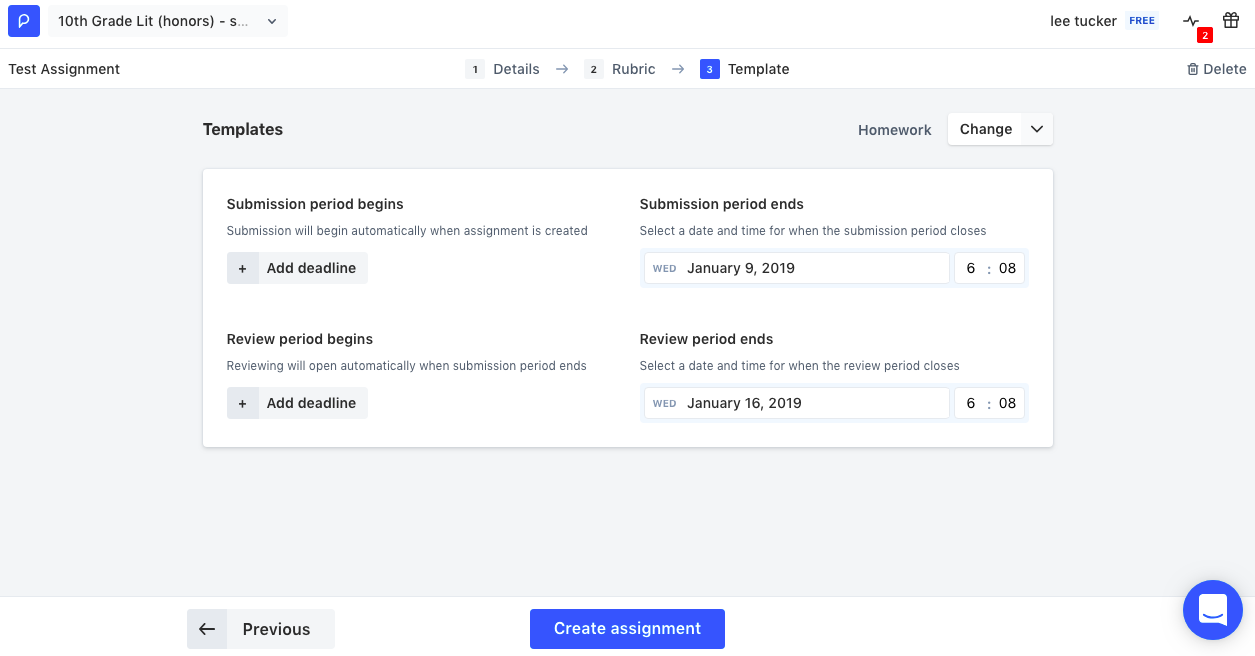
Once the submission period closes, the Review period will open, which is when students can get on and provide feedback. You can set a date for the review period to open if you would like it to open before the submission period ends. And then, of course, you set a date for the review period to end.
Once you have that, click “Create assignment” and you’re ready to go. The assignment will open up, and students can start submitting their work.
